Install the plugin
You can install UberMenu Flat Skins Extension like any WordPress plugin: either upload the zip through the WordPress Plugin Installer or FTP the unzipped files to your wp-content/plugins folder
Option 1: WordPress Plugin Uploader
You can install the plugin via the WordPress plugin uploader without unzipping the file.
- Log into your WordPress admin panel
- Navigate to Plugins > Add New
- Click Upload

- Click Choose File and select the UberMenu Flat Skins plugin package zip.
- Click Install Now.
- Complete the installation process as directed by WordPress.
Option 2: FTP
- Decompress the .zip file you downloaded from CodeCanyon.
- Find the
ubermenu-skins-flatfolder (this directory is created when you unzip the file). - Upload the
ubermenu-skin-flatfolder to yourwp-content/pluginsdirectory. - Navigate to your Control Panel: Plugins
- Under UberMenu - Flat Skins Pack, click Activate
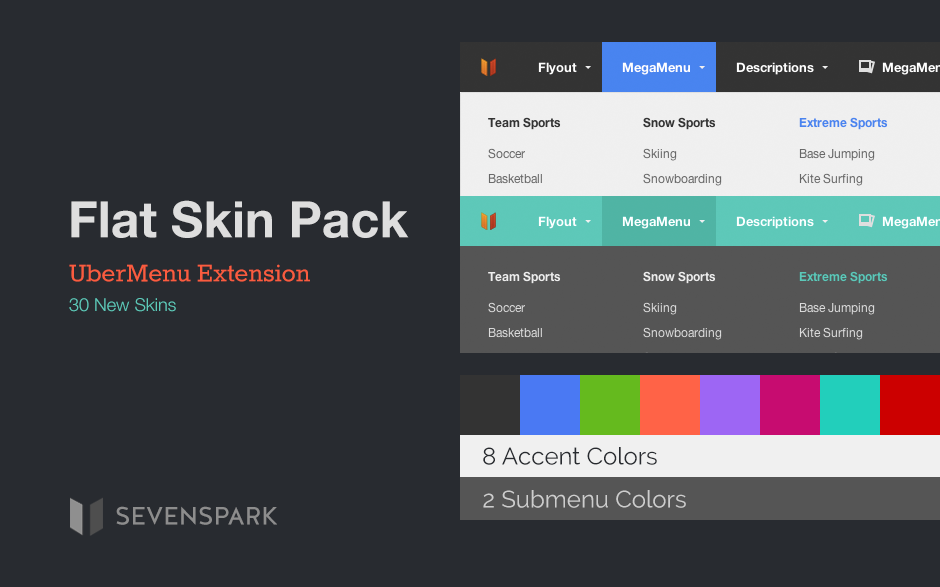
Select your skin
After activating the skin pack extension, you'll have access to 30 new skins; it will not automatically change the current skin you have set
UberMenu 3
1. Navigate to Appearance > UberMenu > Main UberMenu Configuration > Basic Configuration

2. Select your skin
Click the selectbox in the Skin setting and scroll up to view all the Flat Skin options

3. Save your settings
This will make your skin live
4. Note that you can also change your skin in the Customizer
This allows you to preview the skin before saving the settings

UberMenu 2
1. Navigate to Appearance > UberMenu > Style Configuration

2. Ensure that your Style Application is set to "Use a Preset"

3. Click the selectbox next to Style Preset and select one of the new skins

The new skins will be placed at the top of the options
4. Save your settings
This will make your skin live
Customize with LESS
Please note that you should be familiar with LESS to use this section; if not, you can always just customize the CSS files as usual rather than use LESS. There are lots of great resources around the internet on how to use LESS if you'd like to learn it - details on installing and using LESS are outside the scope of this document or support.
The Skin Pack includes LESS files, which make it easy to customize colors and fonts by changing a few variables. Here's a nice Intro to LESS if you are unfamiliar.
Here's the easiest way to leverage the LESS files to create a custom CSS file to use as your skin.
1. Create a new file called custom.less in the extension's /skins directory.
This is where we'll customize our colors, etc.
2. Copy the contents of any LESS file (for example, blue.less), into your custom.less file
To make things easy, if you want a dark submenu, copy a LESS file ending in -dark.less; if you want a colored bar, copy a LESS file endine in -bar.less
3. Alter preset settings
UberMenu 3
Replace the @skin_name with 'none'
@skin_name: none;
UberMenu 2
Replace the @presetName with 'Container' and set @presetPrefix to 'megaMenu'
@presetPrefix: megaMenu;
@presetName: Container;
4. Customize variables
Make all your changes in custom.less. Generally it's simple to just change your accent color to whatever hex value you like. You can also add any of the variables from default.less or the submenu LESS files to override them in your custom.less.
5. Compile LESS to CSS
Use your favorite method (less.js, lessc) to compile your LESS code into a custom.css stylesheet. Setup of LESS is outside the scope of this document - information available at lesscss.org.
6. Switch to your custom stylesheet
First, copy custom.css to your UberMenu plugin folder - ubermenu/custom/custom.css.
UberMenu 3
Next, disable the preset skin in the UberMenu Control Panel, and enable the Custom Stylesheet (custom.css)
UberMenu 2
Next, switch your Style Application to Custom as described here
7. Disable the Flat Skins extension
Since you now have an independent custom skin, you can disable the Flat Skins extension, as you no longer need it